Uploading Files and Assets
If you need somewhere to host internal files and assets, you'll find the Amazon Web Services tool useful. Uploading the files in this area generates a URL that you can use to develop and customize your Web Office and eCommerce Shop.
What We'll Cover
Finding the Page
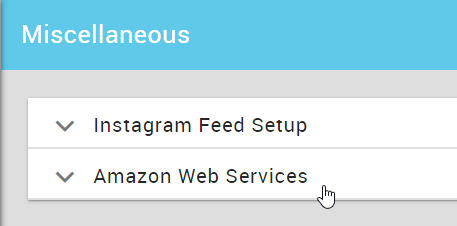
In eCommerce Admin, navigate to: Company Setting > Miscellaneous.
{Client_ID}.retailadmin.directscale.com/#/CompanyMisc
In Web Office Admin, navigate to: Advanced Settings > Miscellaneous.
{Client_ID}.admin.directscale.com/#/MiscellaneousSetup
Entering Your Own Amazon Web Services Credentials
-
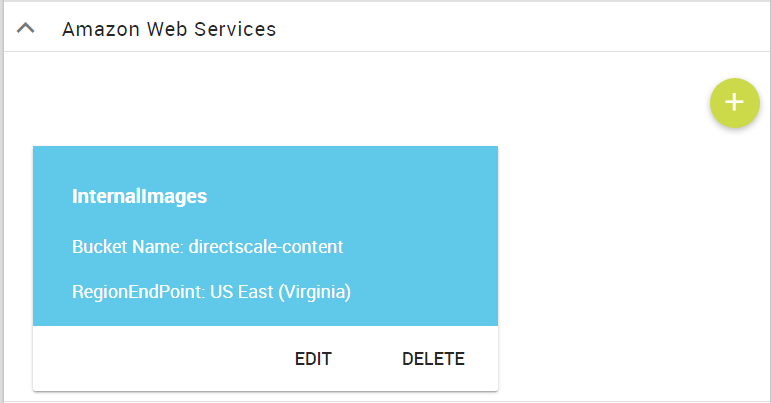
Expand the Amazon Web Services section.
-
You'll notice the InternalImages box that contains a DirectScale owned Amazon Web Services (AWS) bucket configuration.
-
If you would like to add your own AWS credentials, you can click the + button that will open the Add AWS pop-up window, where you can enter your account information.
Uploading Files
-
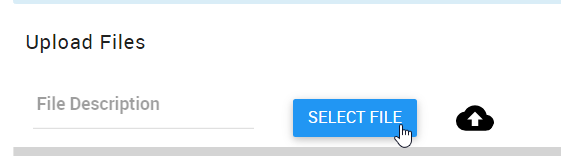
Under the Upload Files section, click SELECT FILE.
Your computer's file finder window opens. Navigate to and select your file.
You can select multiple files at once to upload files in bulk. Refresh the page to see the individual files uploaded.
-
In the File Description field, enter a name or description for the file.
-
Click the Publish icon to upload your file.

Uploaded files sort in a table. You can copy the file's URL by clicking the  Copy to Clipboard icon.
Delete the file by clicking the  Trash icon.
Updated about 1 year ago