Enabling a Page Template
Admin: eCommerce Admin
Page: Advanced Customization > Custom Pages
URL: {client_ID}.retailadmin.directscale.com/#/CustomPage
To enable a custom Page Template:
-
Click + ADD NEW and select Page Template. The Add Page Template pop-up window opens.

-
In the pop-up, click the dropdown to select a template.
-
Click CREATE.
-
The Custom Content Editor reveals.
-
Assign a Name for the template.
-
Under HTML, add some testing text at the top of the code, like: "Hello World". This testing text will aid in discovering whether or not the page overrides successfully.

-
Click the Published toggle to publish the page now after saving the configuration.
Alternatively, you can publish the page from the Pages and Components List by clicking the
 Publish icon.
 -
Under the MFC tab, you'll find the Multi-Faceted Configuration (MFC) settings. Enter your specific configurations on who can view the page.
-
Click SAVE.
If there are no errors, then the pop-up will close, and the page adds to the Pages and Components List under the Page Templates tab.
Testing the Page Template
Test if the page is overriding correctly by opening your eCommerce Shop and navigating to the page's URL.
For example, for the Products page, navigate to: {client_ID}.shop.directscale.com/{webalias}/Products
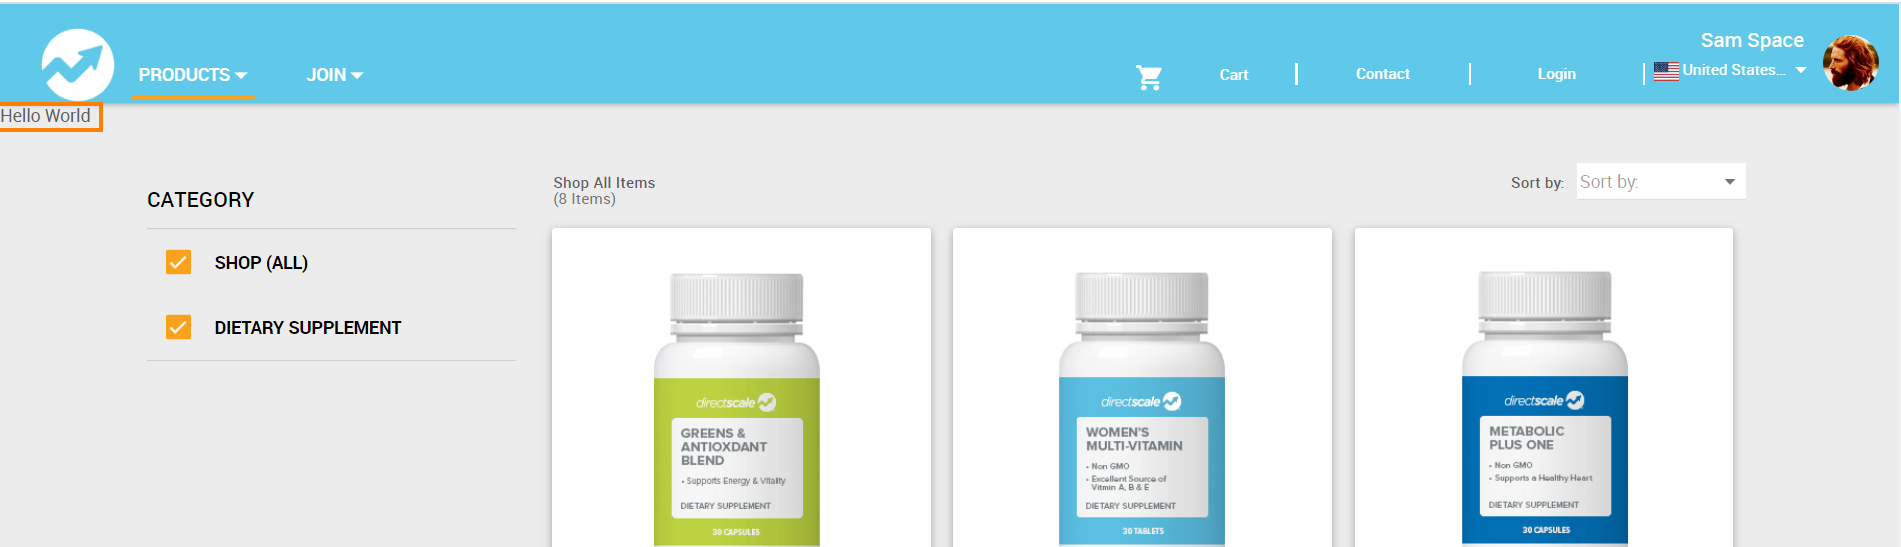
If you can see the testing text that you added, you have successfully overridden the page.
Back in the Custom Pages admin, under the Page Templates tab, click your page template name to expand the section, then click the  Edit icon to reopen the configuration pop-up.
You can now make any customization to the HTML, JAVASCRIPT, and CSS code in the pop-up. When modifying the code, keep the settings references. For example, in the HTML, a settings reference generally looks like this:
ng-if="commonSetting.isShowGlobal['menuRight']"'menuRight' being the reference to the toggle in eCommerce Admin > Company Setting > Settings > Global.
Keeping these references in the code allows them to function correctly, and You can quickly turn elements on and off.
Once complete, click SAVE.