Creating & Configuring Webhooks
👋 Make sure to read this content before continuing
Coding Webhooks
Even if you are a seasoned professional we recommend you review WebHook Best Practices.
Creating a WebHook for a Custom Event?You can use the PostEvent Extension API to trigger custom events for debugging.
Configuring WebHooks
Using the Client Extension?Configurations are managed by the Client Extension and should not be updated with the UI. Find out more about how configurations are managed by reading Deploying The Client Extension.
- Navigate to your Corporate Admin instance.
- Select Tools, then Developer Tools from the main menu.
- Click on Webhooks.
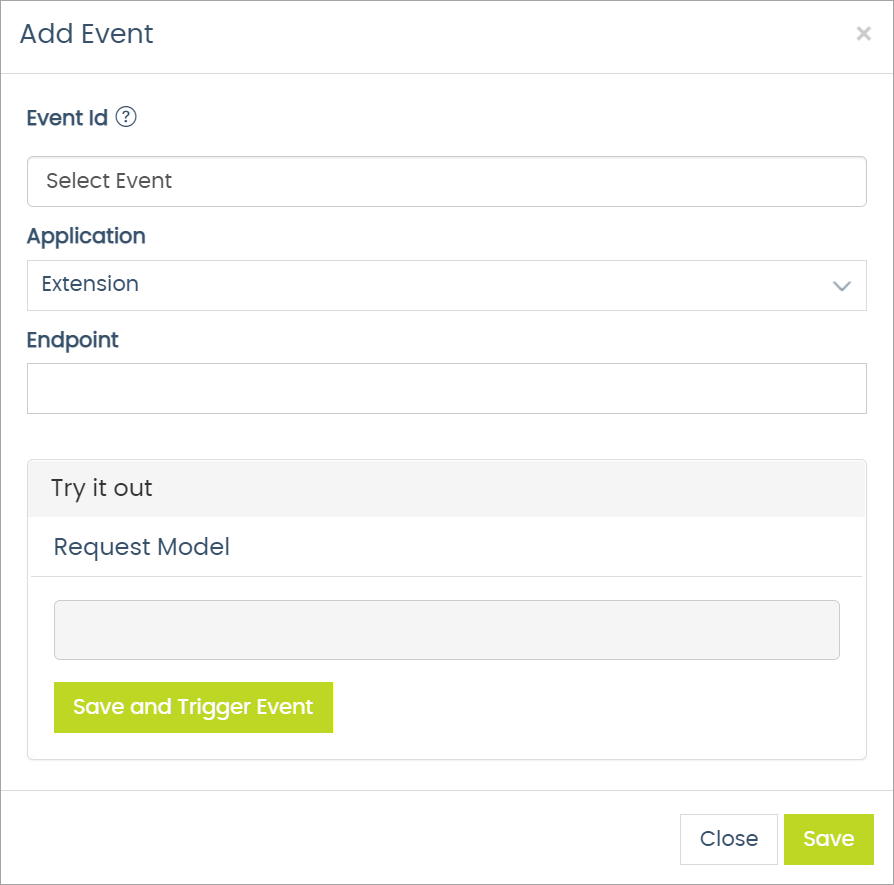
- Click on the Add Event button.
- Using the Event Id drop-down menu, select the Id for the event you'd like to subscribe to.
- Select Custom Event to manually enter a Custom Event ID.
- Click the Show Events List button to restore the Custom Event ID field to its original drop-down format.
- For a complete list of standard Event Ids, see Webhook Events and Payloads.
- Select an Application.
- This drop-down menu allows you to manage multiple registrations for the same event to different Client Web Applications.
- Enter a valid URL for the Endpoint.
- Example:
https://externalApp1.com/api/webhooks/CreateAssociateEvent
- Example:

Updated 8 months ago
