Adding Facebook Pixel to Your eCommerce Shop
Admin: eCommerce Admin
Page: Advanced Customization > Javascript Insertion
URL: {client_ID}.retailadmin.directscale.com/#/Insertion
Facebook Pixel is a tool that tracks analytical data that measures the effectiveness of Facebook advertisements. An Associate can add this tracking to their eCommerce Shop and Web Office by merely adding the Facebook Pixel ID to the Web Office with the Visitor Tracker widget.
But for you to receive any analytical data, you'll need to implement your tracking. This guide will show you how to add the Facebook Pixel code with the JavaScript Insertions page.
⚠️Disclaimer
You should always test any implementation in your Stage environment if your plan includes a Stage environment.
Creating a Facebook Pixel
If you haven't already, create a Facebook Pixel.
Facebook's Business Help Center has a helpful article to get you started.
We're going to add the Pixel code manually, so you'll need to have that available.
You can find it by following these steps:
- Log in to Facebook, and go to your Ads Manager account.
- Go to the Pixels tab in Events Manager.
- Click Set Up Pixel.
- Click Manually add pixel code to website.
Adding a JavaScript Insertion
Navigate to your Admin-of-choice's JavaScript Insertions page. For this guide, we're going to use eCommerce Admin.
- In the JavaScript Insertion page, click + ADD NEW and select Custom Script. The Add Insertion pop-up window opens.
- In the pop-up, enter a Name to add context to the insertion and help find it later.
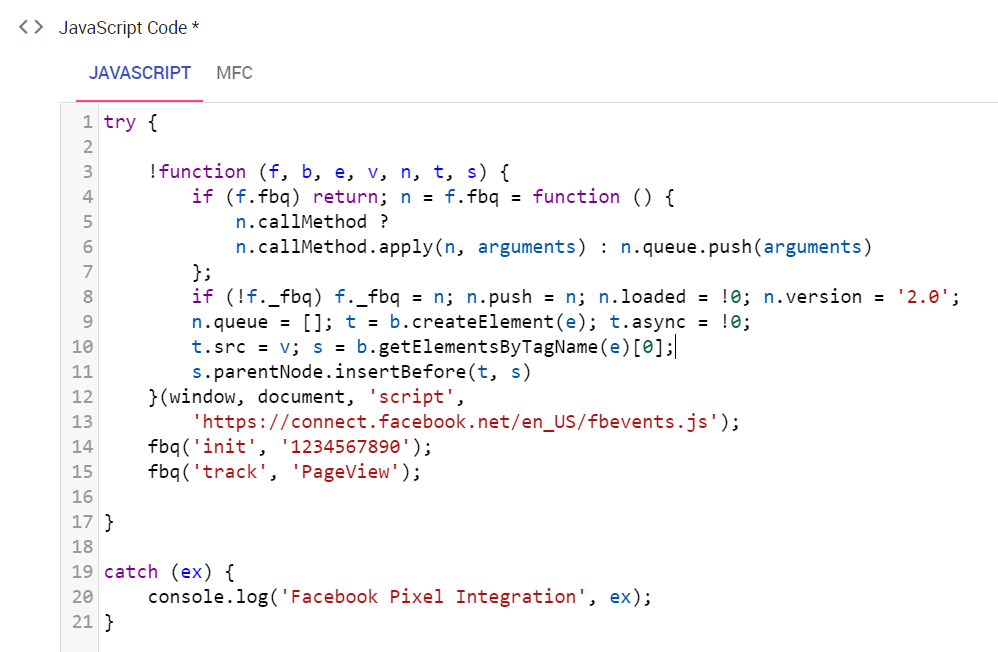
- In the JavaScript Code editor, start a
try...catchstatement.
try {

}

catch (ex) {
    console.log('Facebook Pixel Integration', ex);
}
Read more about JavaScript Errors - Throw and Try to Catch
Adding the Facebook Pixel Code
Next, we'll need the Facebook Pixel code. All we need is the code between the <script></script> tags.
In the JavaScript Code editor, paste that code in the try { }
Saving the Insertion
-
Click the Published toggle to publish the tracking now after saving the configuration.
Alternatively, you can publish the insertion from the JavaScript Insertion List by clicking the
 Publish icon.
 -
Under the MFC tab, you'll find the Multi-Faceted Configuration (MFC) settings. Enter your specific configurations on who will be tracked.
-
Click SAVE.
Updated about 1 year ago