Login Popups
A Login Popup is a modal that displays after an Associate logs into their Web Office or eCommerce Shop.
Finding the Page
This feature is available for both the Web Office Admin and the eCommerce Admin.
In Web Office Admin, navigate to: Code Customization > Login Events.
{Client_ID}.admin.directscale.com/#/LoginEvents
In eCommerce Admin, navigate to: Advanced Customization > LoginEvents.
{Client_ID}.retailadmin.directscale.com/#/LoginEvents
Adding a Popup
_5dc1bc09c106f.png)
You can use login Popups to deliver messages to users upon login. Typical uses include welcome videos or important announcements.
To add a Login Popup:
-
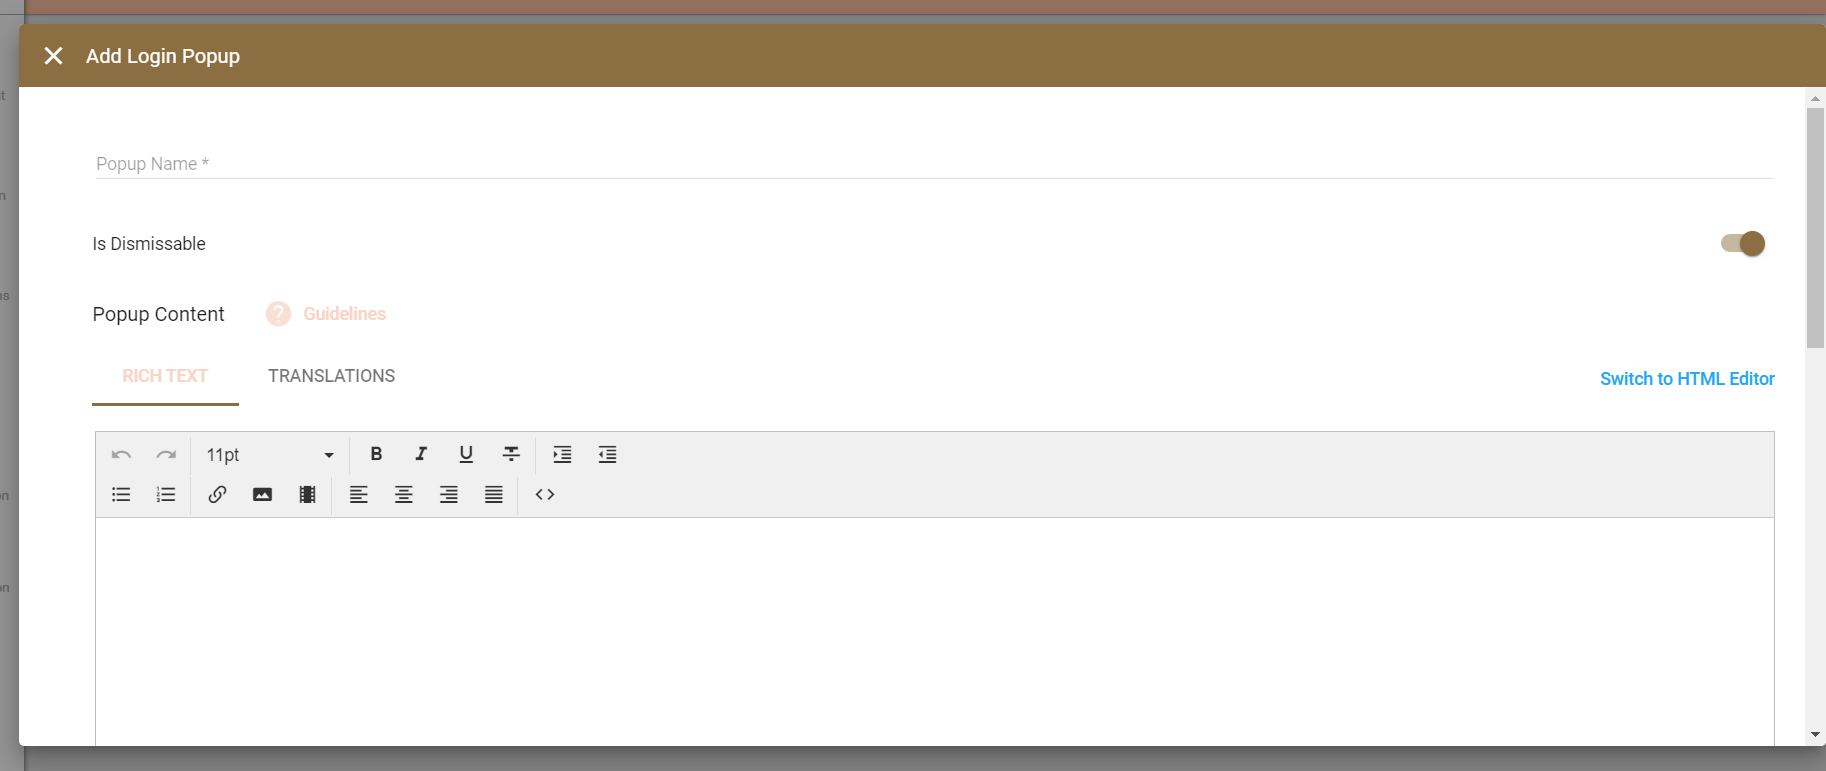
Click + ADD NEW and select Add Popup.
The Add Login Popup pop-up window opens.
-
Enter a Name.
-
Enable/Disable the Is Dismissible toggle:
- Toggled On - Users can dismiss the pop-up.
- Toggled Off - Users will not have the ability to dismiss the pop-up. You could use this when you want to notify inactive users that they need to contact support. They will not exit the pop-up to access the Web Office/eCommerce Shop features.
-
Enter the content in the Custom Content Editor or Rich Text Editor.
-
You can customize for whom the page will display using Multi-Faceted Configuration (MFC).
-
Toggle the Published switch to publish the page after saving.
-
Click SAVE.
📘Note
If you need answers, ideas, or consulting from an expert, see the DirectScale Marketplace.
Custom Content Editor
The Custom Content Editor provides a blank space to add your HTML, JAVASCRIPT, and CSS in three separate code-aware editors (provided by the open-source project CodeMirror). The HTML/CSS/JavaScript will be delivered together when the widget/page is loaded. You can also use CSharp (C#) to call CUSTOM API logic in the eCommerce Admin.
For additional information on the built-in integrations, see:
Adding HTML
In the Popup Content section, under the HTML tab, you add the content and structure that displays within the pop-up container.
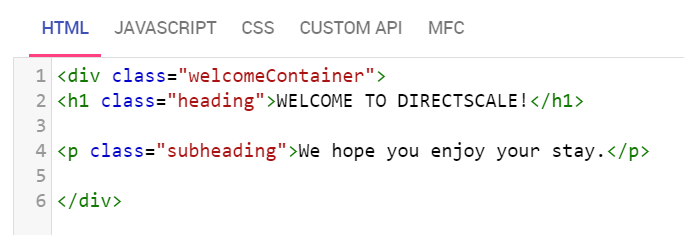
Here's some example HTML to get you going:
<div class="welcomeContainer">
    <h1 class="heading">WELCOME TO DIRECTSCALE!</h1>

    <p class="subheading">We hope you enjoy your stay.</p>
</div>
Next, we'll define the classes under the CSS tab.
Adding CSS
Under the CSS tab, define the style and design for your pop-up.
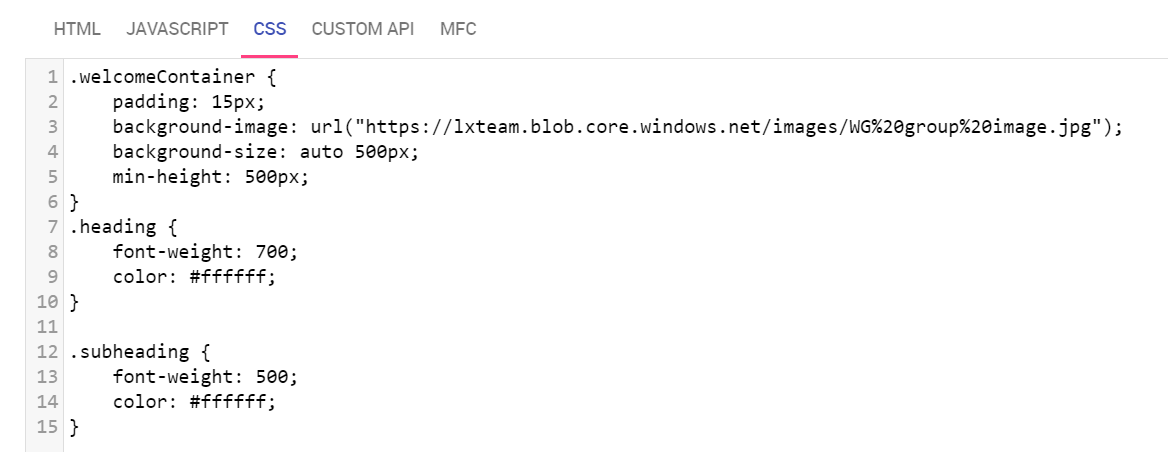
.welcomeContainer {
	padding: 15px;
    background-image: url("https://lxteam.blob.core.windows.net/images/WG%20group%20image.jpg");
    background-size: auto 500px;
    min-height: 500px;
}
.heading {
    font-weight: 700;
    color: #ffffff;
}

.subheading {
    font-weight: 500;
    color: #ffffff;
}
In the eCommerce Shop, login to an account and see your login pop-up.
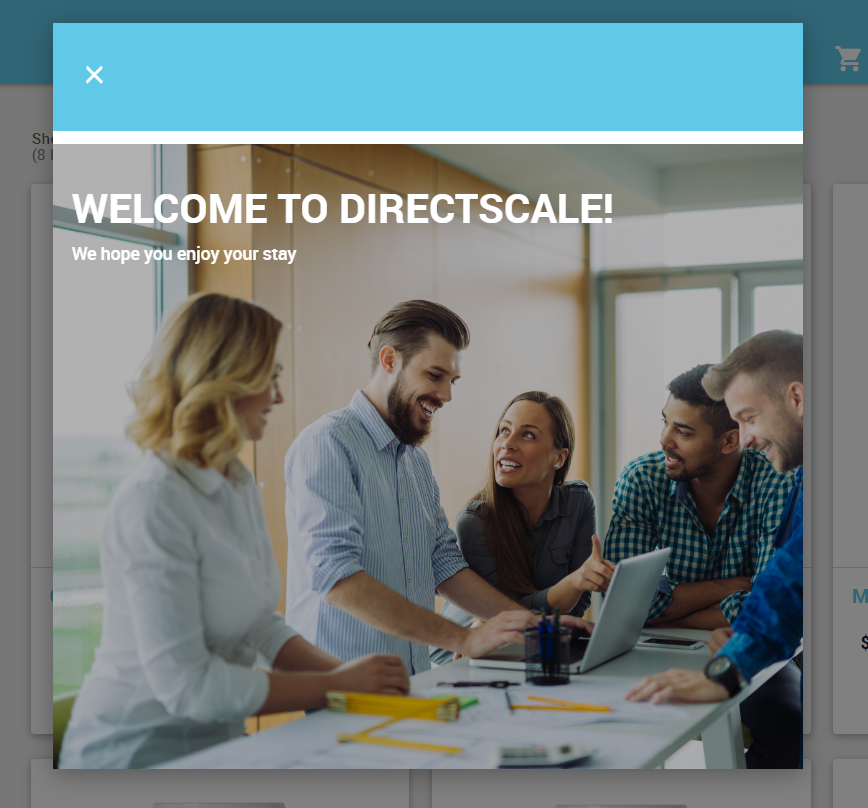
The pop-up will display if it is published and the correct MFC settings are in place.
Rich Text Editor
📘Note
Only available for Web Office custom pages.
The Rich Text Editor is useful for simple pages with basic styling. The interface consists of a rich text editor (provided by the open-source project TinyMCE).
Read more about TinyMCE features in the Help Center: TinyMCE Text Editor
❗Warning
If you’d like to use the Rich Text Editor, you need to switch to it before entering any content. The Rich Text Editor will remove certain HTML elements, such as
<script>, which can cause a loss of markup.
Dismissing a Popup (JavaScript)
For custom pop-ups where there is not a built-in dismiss option, use the JavaScript onClick function to call closeLoginEvent().
For example, here is a link that would close the pop up and return the Associate to the Homepage:
<a href="#/Home" onclick="closeLoginEvent()">home</a>