Custom Web Office Login Page Content
Admin: Web Office Admin
Page: Security > Login Page
URL: {Client_ID}.admin.directscale.com/#/LoginPage
Permission: Login Page
Add custom content to the Web Office Login page for all Associates.
To add custom content:
-
Click + ADD CUSTOM CONTENT.
The Add Login Custom Content pop-up window opens.
-
Enter a Name.
-
Select the Position (Top or Bottom) the content will appear on the Login page.
-
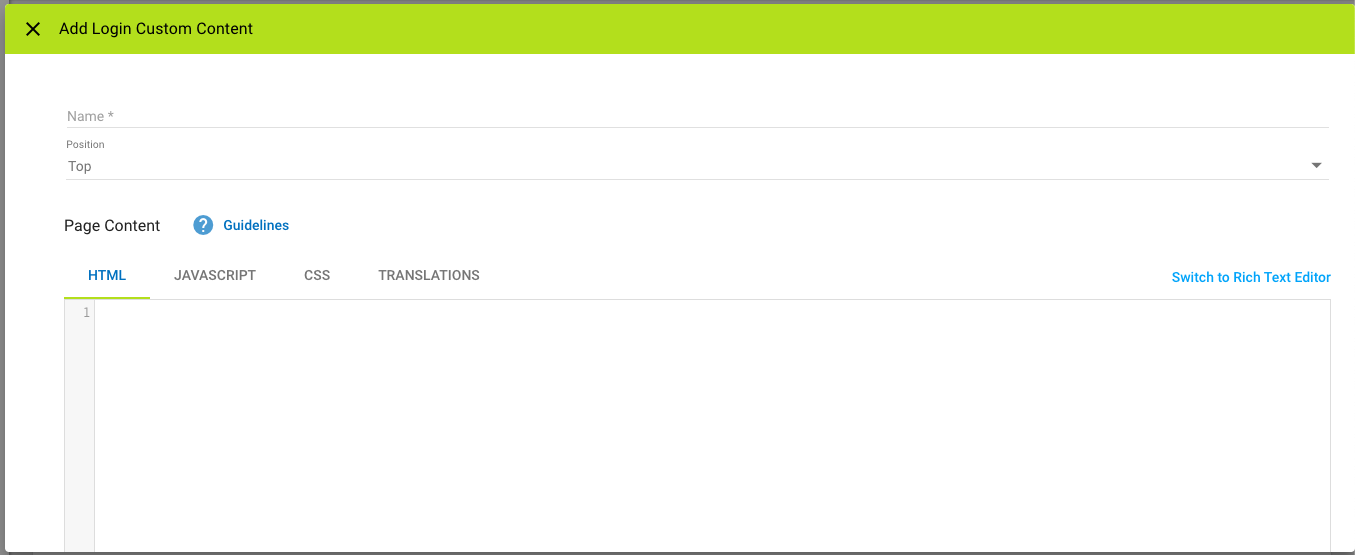
Enter the content in the Custom Content Editor or Rich Text Editor.
-
Toggle the Published switch to publish the page after saving.
-
Toggle on/off Always Show.
- On - The content will display once published with no expiration date.
- Off - You can set a START DATE and END DATE, allowing for timed content. You can read more about these settings in Multi-Faceted Configuration (MFC).
-
Click SAVE.
Custom Content Editor
The Custom Content Editor provides a blank space to add your HTML, JAVASCRIPT, and CSS in three separate code-aware editors (provided by the open-source project CodeMirror). The site delivers the HTML/CSS/JavaScript together when the widget/page loads.
For more information on the built-in integrations, see:
Rich Text Editor
The Rich Text Editor is useful for simple pages with basic styling. The interface consists of a rich text editor (provided by the open-source project TinyMCE).
Read more about TinyMCE features in the Help Center: TinyMCE Text Editor
❗Warning
If you’d like to use the Rich Text Editor, you need to switch to it before adding any content. The Rich Text Editor will remove certain HTML elements, such as
<script>, which can cause a loss of markup.
Examples
Upcoming Event Notice

-
Position: Top
-
Toggle off Always Show and set an END DATE for when the event passes.
-
HTML:
<div class="card" style="background-color: #1F74BC; color: #FFF; margin-bottom: 20px;">
<div style="padding: 20px; font-size: 18px; text-align: center;">
 <span>OUR BIGGEST EVENT EVER!</span><br>
 <span>GET UP AND OUT | APRIL 12TH, 2021</span>
</div>
</div>
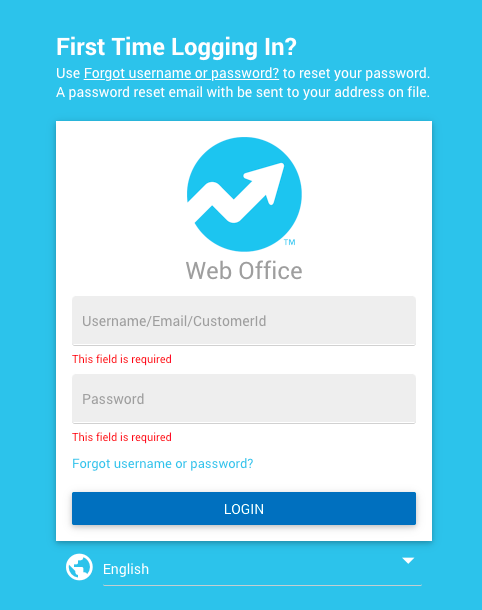
First Time Logging In? Message
-
Position: Top
-
Toggle on Always Show.
-
HTML:
<h1 style="color: #ffffff; font-size: 24px; font-weight: 700; margin-bottom: 10px">First Time Logging In?</h1>
<span style="color: #ffffff;">Use <a ng-click="selectedForgotPasswordOption.option=''" open-flipper="dsLoginFlipper" translate="forgot_password" style="color: #ffffff; text-decoration: underline;">Forgot Username or Password?</a> to reset your password. A password reset email with be sent to your address on file.</span>
<br>
<br>
Clicking "Forgot Username or Password?" triggers the login form to "flip" showing the Account Recovery form, mimicking the link under the Password field. The following is the relevant snippet from the preceding code example for this functionality:
<a ng-click="selectedForgotPasswordOption.option=''" open-flipper="dsLoginFlipper" translate="forgot_password">Forgot Username or Password?</a>
Updated about 1 year ago