Visual Editor
Under the Visual tab, the Table List sidebar is a scrolling list of every editable table in the Database.
Searching for a Table
You can filter this list by using the Search Bar to find the table you wish to edit.
Viewing Table Schema
View the Table Schema by clicking the ![]() icon.
icon.
Viewing a Table
-
Click the Table Name link to view the table.
Selecting a Table Name is effectively running the SQL statement
SELECT * FROM [schema].[tablename].
Filtering Data
Filter the data by comparing the values in the selected columns.
To filter the data:
-
Click the Filters button.

-
Under the Filters section, select a Column name
-
Select a comparison Operator
Operator Description =Equal to... <Less than... <=Less than or equal to... >Greater than... >=Greater than or equal to... !=Not equal to... CONTAINSHas a word or phrase, a prefix of, near another word. DOES NOT CONTAINDoes not have a word or phrase, a prefix of, near another word. INSpecify multiple values. NOT INExclude multiple values. -
Enter a Value to compare
- Separate values with a comma (,) and no spaces.
- Quotation marks ("") aren't necessary for strings.
-
Click the Get Data button
The table will filter to the chosen criteria.
Adding More Filters
To add multiple filters to create more complex queries:
-
Clicking the Add Filter button.
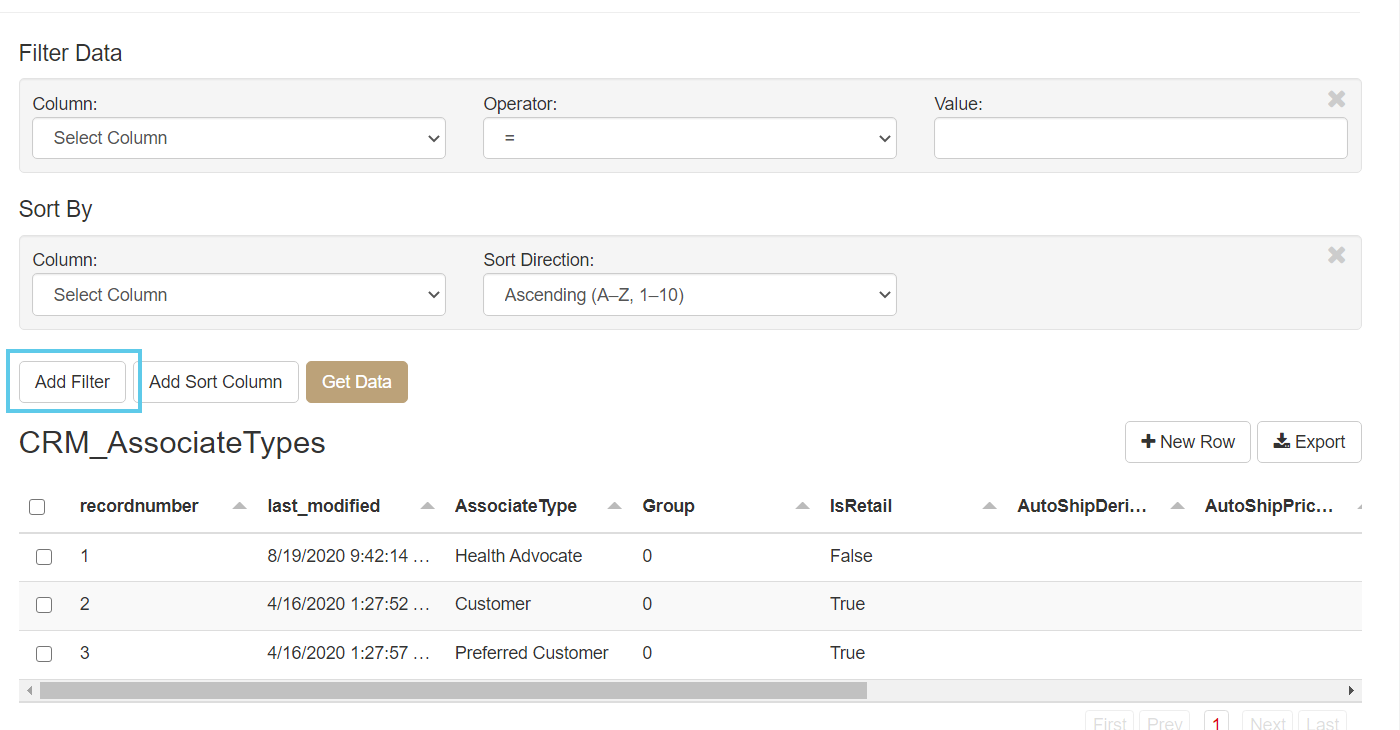
Another filter section will generate, allowing you to select your criteria.
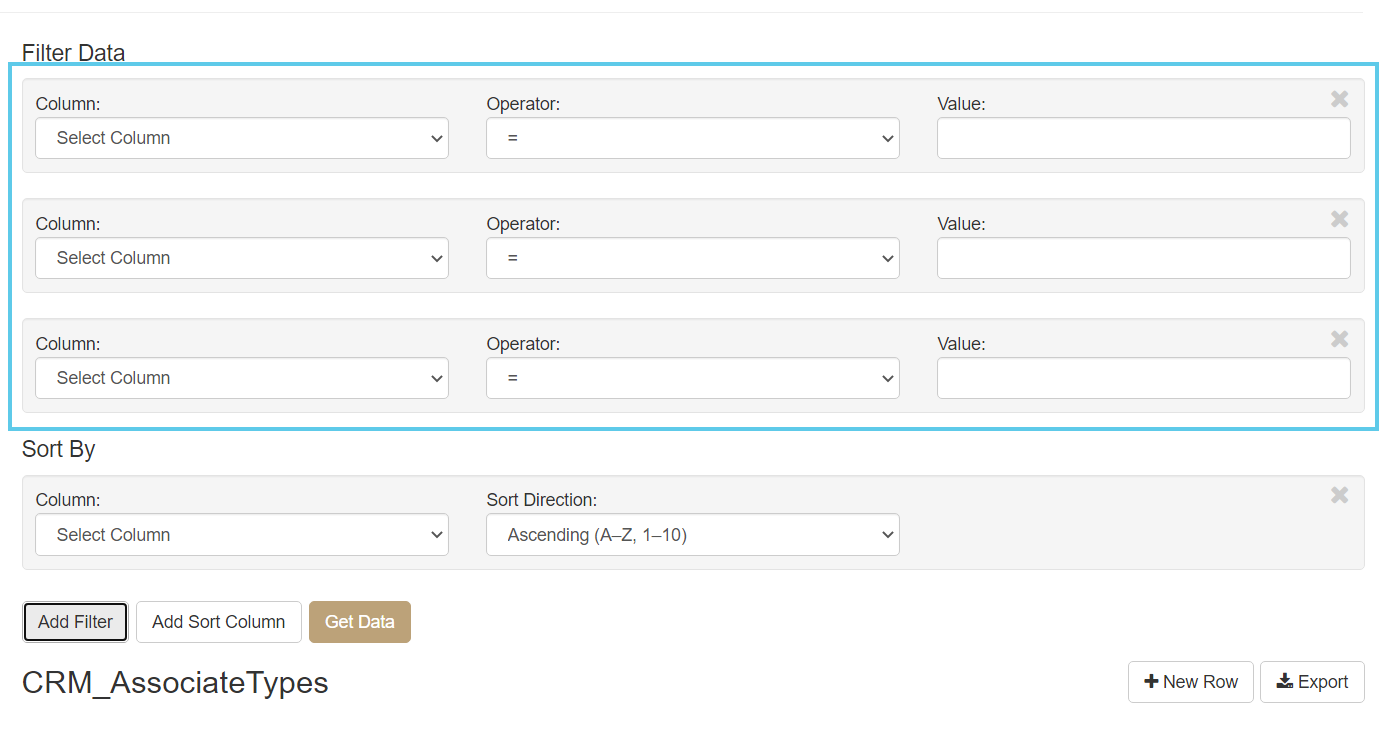
-
Click the
 icon to remove the filter logic.
Sorting Data
Sort the data by the select column and direction (Ascending or Descending).
-
Click the Filters button.

-
Under the Sort By section, select a Column name to sort against.
-
Select a Sort Direction.
Choices are:
- Ascending (A–Z, 1–10)
- Descending (Z–A, 10–1)
-
Click the Get Data button.
The table will sort by the chosen column and direction.
Adding More Sort Columns
To add multiple sort columns:
-
Click the Add Sort Column button.
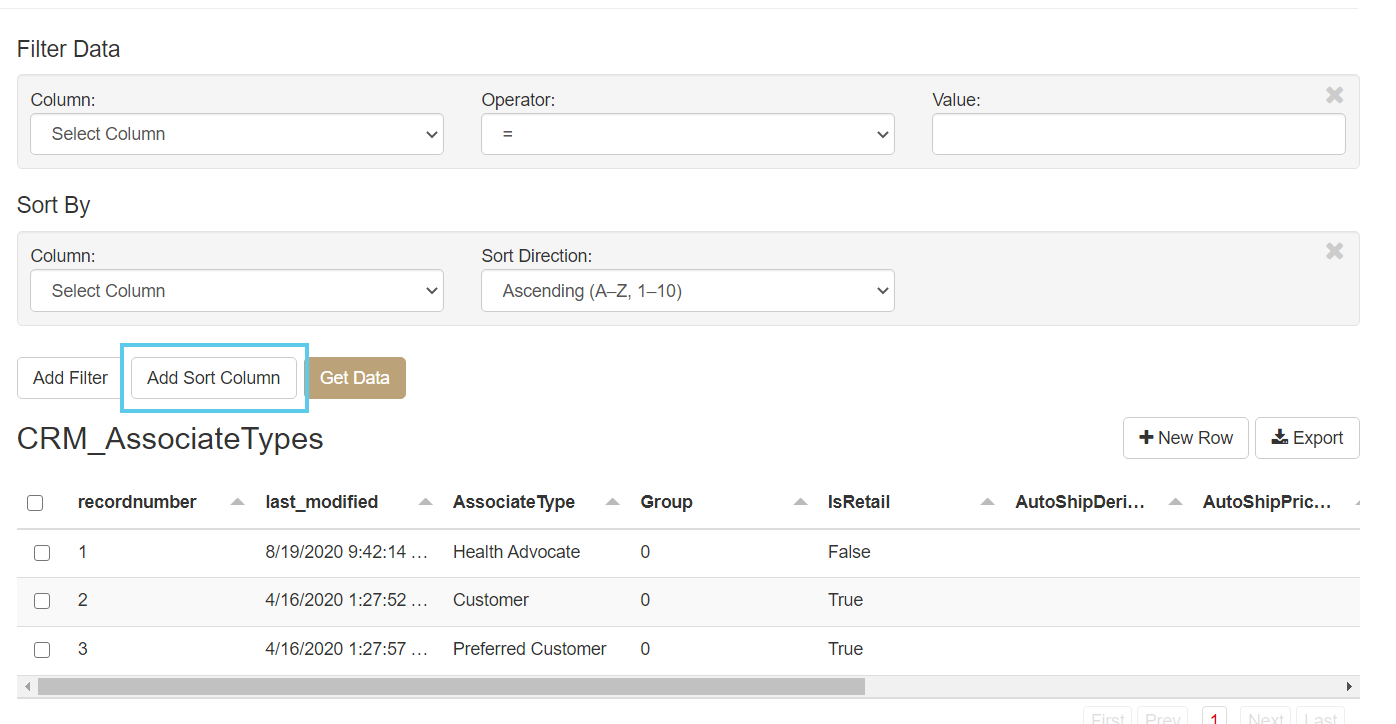
Another Sort by section will generate, allowing you to select your column and sorting direction.
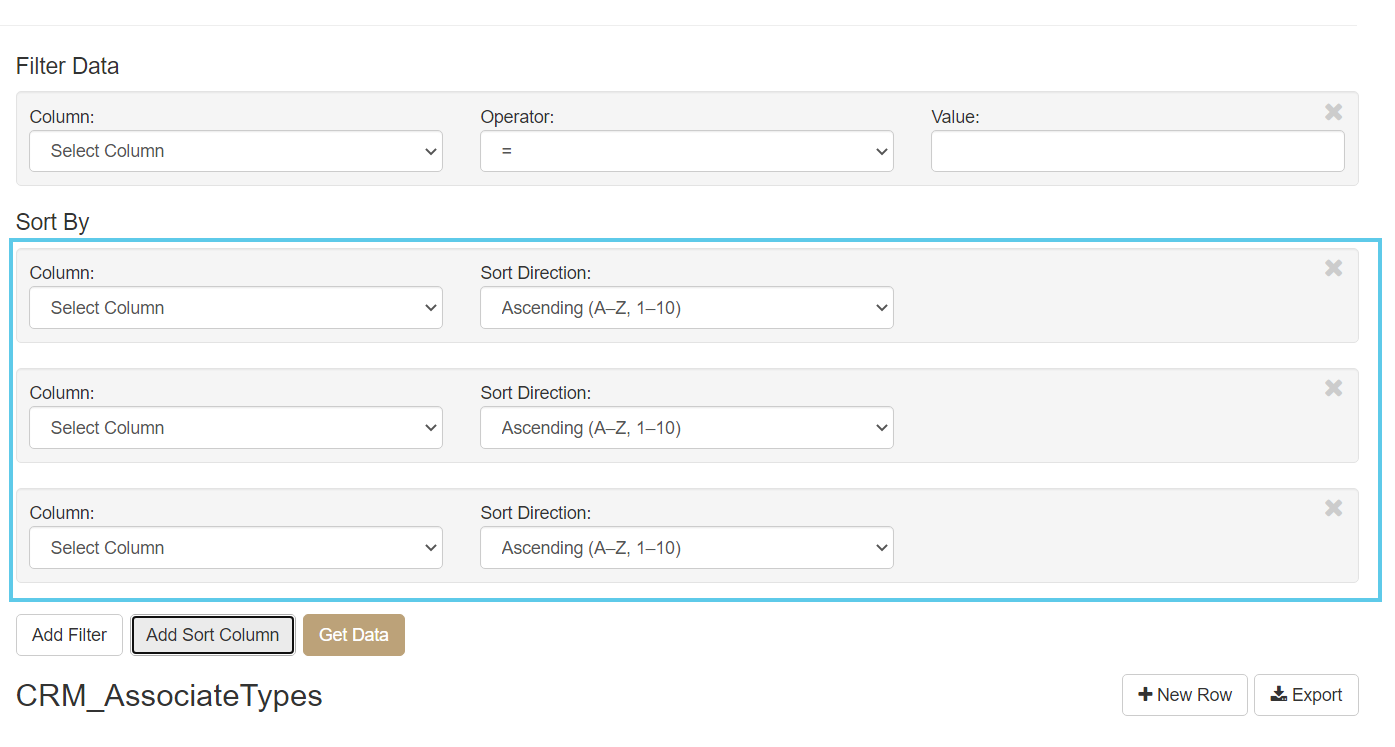
-
Click the
 icon to remove the sort logic.
Editing Tables
❗Warning
When editing data with the Data Editor, you are editing the live Database. Export the table before making any changes.
To edit a selected table:
-
Click a table record and enter the new data.
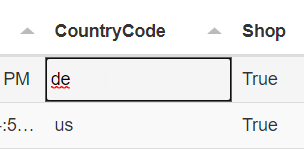
-
Click the
 icon to accept, or click the
  icon to reject the changes.
👍Tip
Click the
icon to expand the table view, eliminating the need to scroll.
⚠Important
Client Custom tables must have a recordnumber (int) primary key column and a last_modified (datetime) column to edit.
Batch Editing
If you want to have the same column data in multiple rows, you can use batch editing.
-
Select the checkboxes next to the rows you want to batch edit.
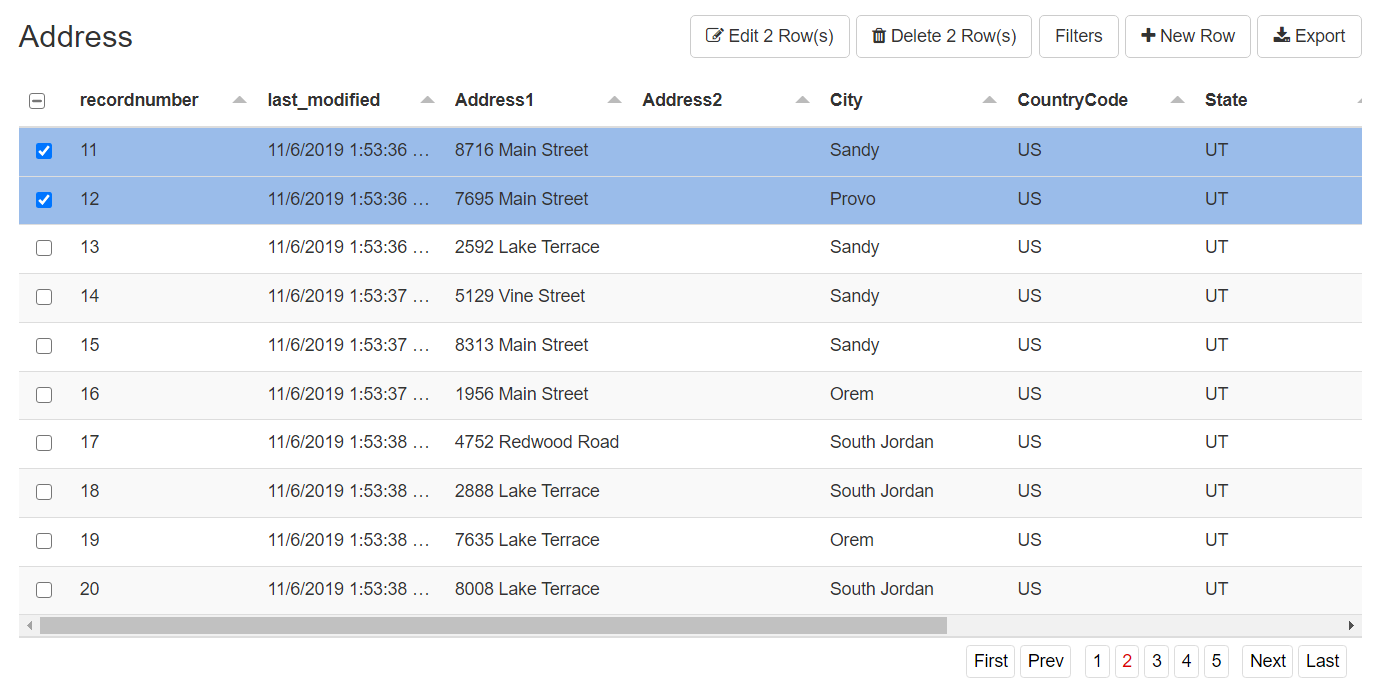
❗Warning
The Select All checkbox will select every row in the table.
-
Click the Edit {#} Row(s) button.
-
In the Edit Multiple Rows panel, click the Value or
 icon to enter your new data.
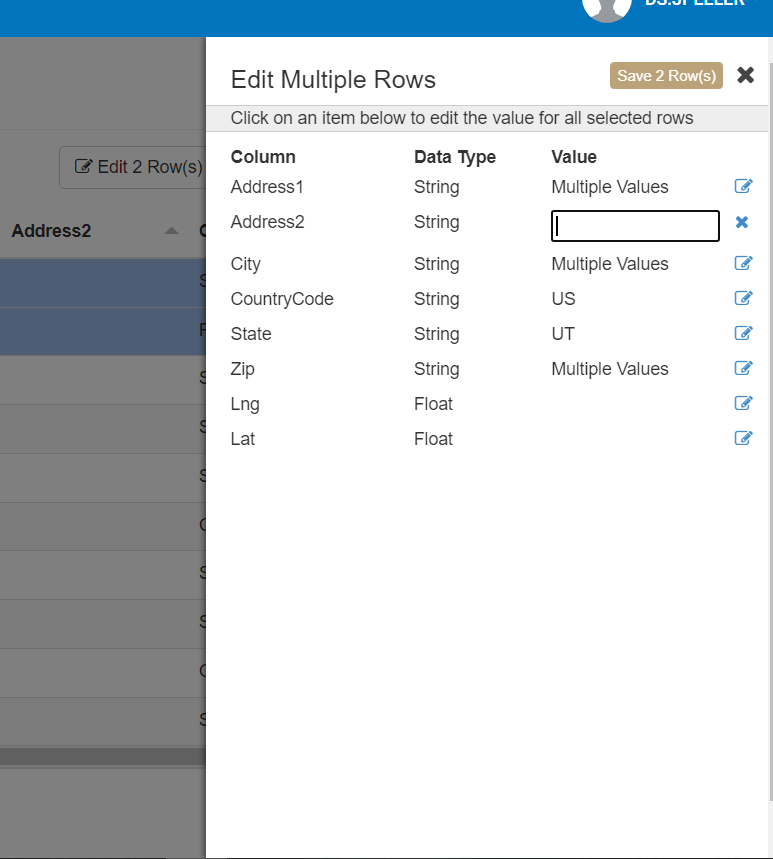
-
Click the Save {#} Row(s) button.
Adding a New Row
To add a row, click + New Row and enter your data in the fields.
Deleting a Row
To delete a row:
- Select the checkbox next to the rows you want to delete.
- Click the Delete {#} Row(s) button.
Batch Deleting
If you want to delete multiple rows, you can do so with batch deleting.
- Select the checkboxes next to the rows you want to batch delete.
❗Warning
The Select All checkbox will select every row in the table.
- Click the Delete {#} Row(s) button.
Refresh the Cache
Request Customer Care refresh the cache after editing data in the following tables:
- ActiveCountries
- Address
- Countries
- CountryLanguages
- CRM_AssociateStatuses
- CRM_AssociateTypes
- CRM_BinaryTree
- CRM_CommissionPeriods
- CRM_Distributors
- CRM_EnrollTree
- CRM_MatrixTree
- CRM_Ranks
- CRM_UnilevelTree
- CRM_WebAlias
- CRM_Websites
- Currency
- INV* (anything starting with INV)
- Languages
- ORD_ShippingMethods
- ORD_ShippingMethods_Regions
- ORD_ShippingMethods_Stores
- PasswordRequirements
- RegionLocale
- Regions
- Rights
- RoleRightMap
- Roles
- States
- TreeConfigurations
- Users
Updated 8 months ago
